
Why repotting matters
As a plant grows, its root system gradually expands to fill the available space in its pot. Once roots have filled that space completely, they begin circling the inside of the pot, competing with each other for water and nutrients, and eventually forming a dense, tangled mass commonly called being "root bound." A root-bound plant struggles to absorb water efficiently — water often runs straight through the root mass and out the drainage holes without being absorbed — and its growth slows or stalls even with otherwise good care. Repotting into a larger container, or refreshing the soil in the same container, gives the roots room to expand again and replaces soil that has broken down and lost its structure over time.
Repotting isn't only about upsizing, though that's by far the most common reason people do it. It's also used to replace old, compacted, or nutrient-depleted soil, to treat root rot by removing damaged roots and starting fresh, and occasionally to downsize an overly large pot that's holding excess moisture around a comparatively small root system.
It's worth separating repotting from simply "potting up" a plant that arrived from a nursery in a thin plastic grow pot into a nicer decorative container of the same size — that swap doesn't give the roots any additional room and isn't quite the same maintenance task described in this guide, even though it's sometimes referred to casually as repotting too.
Five signs it's time to repot
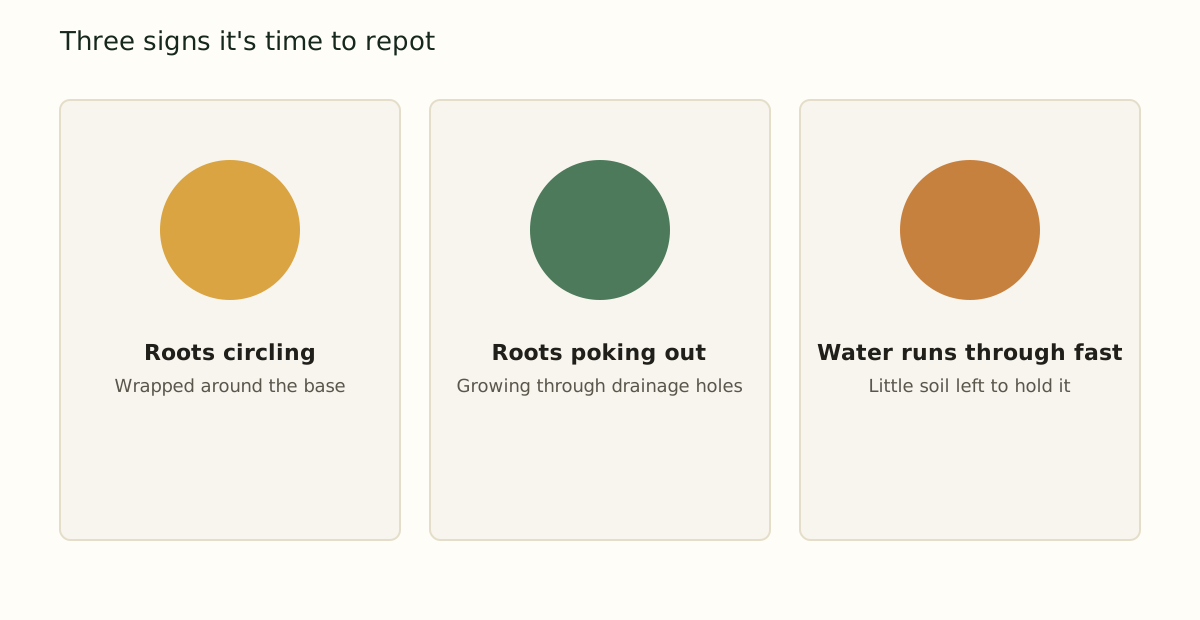
- Roots are visible growing out of the drainage holes at the bottom of the pot — one of the clearest, least ambiguous signs.
- Water runs straight through the pot almost instantly after watering, with little absorption, because roots have displaced most of the available soil.
- Growth has stalled noticeably during what should be the plant's active growing season, despite otherwise appropriate light and watering.
- The plant dries out much faster than it used to, needing water far more often than the same species typically requires.
- You can see roots circling visibly at the soil surface, or the plant appears top-heavy and unstable relative to its pot.
Any single sign is worth noting on its own; two or more appearing together are a fairly reliable indication that it's genuinely time to repot rather than simply coincidence.
How often houseplants typically need repotting
| Growth rate | Typical repotting interval | Examples |
|---|---|---|
| Fast growers | Every 12–18 months | Pothos, philodendron, spider plant |
| Moderate growers | Every 18–24 months | Peace lily, dracaena, rubber plant |
| Slow growers | Every 2–4 years | Snake plant, ZZ plant, cacti and succulents |
These are general starting points, not fixed rules — always confirm with the signs described above rather than repotting purely on a schedule. A slow-growing plant that isn't showing any signs of being root bound doesn't need repotting just because time has passed on a calendar.
Choosing the right new pot size
The most common beginner mistake in repotting isn't waiting too long — it's sizing up too aggressively in one single step. A pot that's dramatically larger than the current one holds a large volume of soil that the plant's existing root system can't use quickly, which keeps that excess soil wet for far longer after each watering and significantly raises the risk of root rot developing. As a general rule, move up only one to two inches in diameter from the current pot for most common houseplants. A plant in a 6-inch pot generally moves well into a 7- or 8-inch pot, not a 12-inch one, even if the larger pot looks proportionally nicer sitting on a shelf.
Pot material: does it matter?
Pot material affects how quickly soil dries out, which is worth considering alongside overall size when choosing a new pot for any plant. Unglazed terracotta is porous and lets moisture evaporate through the pot walls, drying faster than the same soil in plastic or glazed ceramic. For plants that are prone to overwatering issues, terracotta provides a built-in margin of safety; for plants that prefer to stay consistently moist, plastic or glazed ceramic reduces how often you'll need to water them. Whatever material you choose, a drainage hole is close to non-negotiable — pots without one make it very difficult to judge how much water is accumulating at the bottom.
The repotting process, step by step
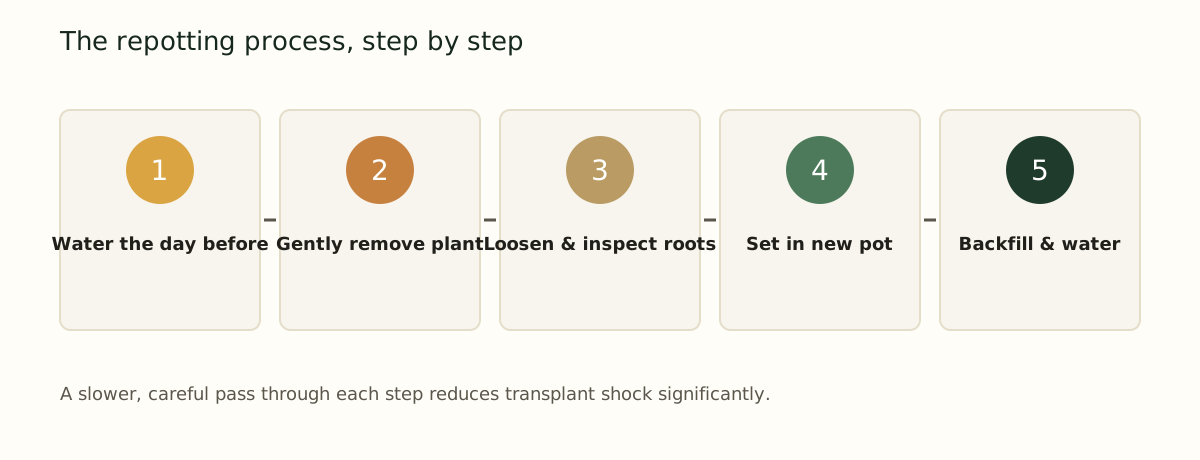
- Water the plant the day before you plan to repot. Moist soil holds together better and slides out of the old pot more easily than bone-dry soil, and well-hydrated roots handle the disturbance better than stressed, dry ones.
- Gently remove the plant by tipping the pot on its side and easing the root ball out, supporting the base of the plant rather than pulling on the stem or leaves. If it's stuck, run a thin knife around the inside edge of the pot to loosen it.
- Loosen and inspect the roots. Gently tease apart circling or tangled roots with your fingers. Trim away any roots that are brown, black, mushy, or clearly dead, using clean scissors or shears.
- Add a layer of fresh soil to the bottom of the new pot, set the plant in at the same depth it was growing at previously, and check that it sits level and centered.
- Backfill around the sides with fresh potting mix, pressing gently to eliminate large air pockets without compacting the soil too densely, then water thoroughly until it drains from the bottom.
Tools and materials to have ready
Gathering everything before you start keeps the process quick and reduces how long the plant's roots are exposed to open air, which matters more than most beginners initially expect — roots can dry out and become damaged surprisingly fast once uncovered. A basic repotting kit includes: the new pot with a drainage hole, fresh potting mix suited to the plant type, clean scissors or pruning shears for trimming damaged roots, a trowel or old spoon for adding and packing soil, a tray or old sheet to contain mess, and a watering can ready to go for the final step. Wiping down scissors with rubbing alcohol before use is a simple habit that reduces the chance of spreading disease between plants if you're repotting more than one in the same session.
Repotting different plant types
The general process above applies broadly, but a few plant categories benefit from small adjustments:
Succulents and cacti
Let the soil dry out completely before repotting rather than watering the day before, since these plants are adapted to arid conditions and their roots are more prone to rot if handled while sitting in damp soil. Wear thick gloves or use folded newspaper as a barrier when handling spiny cacti, and allow extra time for the plant to settle before watering again — waiting three to five full days after repotting a cactus before the first watering helps any small root injuries callous over rather than immediately taking on moisture they aren't ready for.
Large, top-heavy floor plants
Plants like fiddle leaf figs, large dracaena, or mature rubber plants are genuinely awkward to repot alone. Laying the pot on its side and easing the plant out horizontally, rather than trying to lift straight up, reduces strain on both the plant and the person doing the repotting. A second person to steady the plant while you work with the pot makes this considerably easier and meaningfully lowers the risk of snapping a stem in the process.
Trailing and vining plants
Plants like pothos and philodendron often have long trailing stems that make handling genuinely awkward during repotting. Gently gathering the vines and setting them aside, or looping them loosely out of the way, keeps them from getting tangled, bent, or damaged while you focus your attention on the root ball itself.
When to downsize instead of upsizing
Downsizing is less common but sometimes genuinely necessary, particularly for plants recovering from root rot, where a significant portion of the root system has been trimmed away and the remaining roots are too small to reasonably fill the original, larger pot. Moving a plant with a reduced root system into a smaller pot, rather than leaving it in an oversized one, helps prevent the excess soil volume from staying wet longer than the smaller root system can actually use, which reduces the risk of the rot recurring during recovery.
Minimizing transplant shock
Some wilting, drooping, or minor leaf drop in the days immediately following repotting is entirely normal and usually resolves within one to two weeks as the plant fully adjusts. A few practices reduce the severity of this stress response:
- Repot during the plant's active growing season, typically spring through early summer, when it can recover fastest.
- Avoid repotting and fertilizing at the same time — freshly disturbed roots are more sensitive to fertilizer salts.
- Keep the plant out of direct, intense sun for the first week or two after repotting while roots reestablish.
- Handle roots as gently as possible; excessive root disturbance is the single biggest driver of severe transplant shock.
Repotting a stressed or already struggling plant into fresh soil is often not the fix beginners expect it to be. If the underlying problem is watering, light, or pests rather than pot size, repotting adds an additional stressor on top of an existing one and can make recovery harder, not easier.
When not to repot
Repotting isn't automatically beneficial, and there are specific situations where it's better to wait:
- The plant is actively flowering or fruiting — repotting during this period can cause it to drop blooms or fruit prematurely.
- It's the middle of winter, when most houseplants are growing slowly or dormant and recover from root disturbance much more slowly.
- The plant was recently purchased — giving a new plant two to four weeks to acclimate to your home's conditions before adding the additional stress of repotting is generally a safer approach, unless it's showing clear signs of being severely root bound or the roots are sitting in soggy, rotting soil.
- You're not certain the plant actually needs it — when in doubt, refreshing the top inch or two of soil is a lower-stress alternative to a full repot.
Aftercare: the first two weeks
After repotting, water thoroughly once, then let the soil surface dry slightly before watering again rather than keeping the fresh soil constantly saturated throughout the recovery period. Keep the plant in stable conditions — steady light, steady temperature — and avoid moving it to a dramatically different spot in the same window it's adjusting to new soil. Hold off on fertilizing for at least four to six weeks; fresh potting mix usually contains enough starter nutrients to support the plant through this recovery period without any additional feeding. It's normal to see little visible growth during this window even in a perfectly healthy plant — most of the activity is happening below the soil line as roots reestablish themselves in the new space, and top growth typically resumes once that underlying root development catches up to support it.
A simple tool checklist for repotting day
Having everything within reach before you start makes the whole process faster and less stressful for both you and the plant involved. A basic setup includes: the new pot with a drainage hole already confirmed, fresh potting mix matched to the plant type, a trowel or old spoon for adding soil, clean scissors for trimming any damaged roots, a tray or old towel to catch spilled soil, and your watering can filled and ready for the final step. Laying out newspaper or a plastic sheet on your work surface beforehand saves considerable cleanup time afterward, particularly for larger plants where soil tends to scatter more widely during the process than you might expect. If you're repotting several plants in one session, wiping your scissors down with rubbing alcohol between each plant is a simple habit that reduces the chance of spreading any hidden pest or disease issue from one pot to another during the same afternoon.