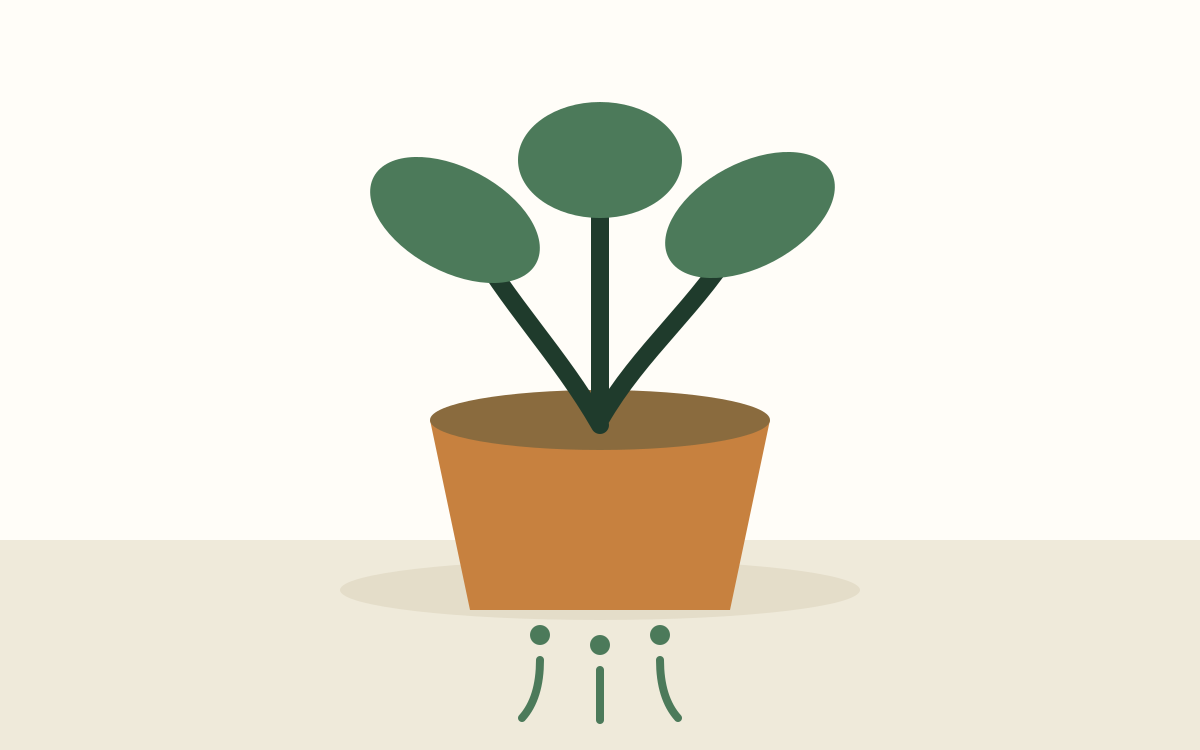
The short answer: most houseplants are safer with drainage
For most indoor plants and most plant owners, a pot with at least one unobstructed drainage hole is the safer, more forgiving choice. The hole allows water that the potting mix cannot hold to leave the container. That matters because roots need oxygen as well as moisture. When excess water remains trapped at the bottom, air spaces in the mix stay filled with water and roots can become stressed even though the leaves above the soil may initially look normal.
A drainage hole does not prevent overwatering by itself. A plant can still remain too wet when it is watered again before the mix has dried appropriately, when the pot is much larger than the root system, or when the mix is dense and compacted. Drainage is one part of a system that also includes pot size, soil structure, available light, temperature, and watering frequency. It reduces risk and gives you a clear way to water thoroughly, but it cannot correct every other mismatch.
There are ways to grow plants in containers without holes, but they require more precise control and provide less room for error. Beginners are usually better served by keeping the plant in a draining nursery pot and placing that pot inside the decorative container. This preserves the appearance of the cachepot without forcing the roots to sit in water you cannot see.
What happens inside the pot after watering
Potting mix contains solid particles and spaces between them. After a thorough watering, some water clings to the particles and remains available to roots, while gravity pulls the excess downward. In a draining pot, that excess exits and air gradually returns to the larger spaces. In a sealed container, the lowest portion can remain saturated because there is no exit. Adding a layer of gravel does not create a drainage outlet; it simply changes where the saturated zone sits inside the container.
This is why “a little water” is not always a reliable solution for a pot without holes. Small sips can wet only part of the root ball, encourage shallow roots, and allow fertilizer salts to accumulate because water never flushes through the mix. At the same time, estimating a safe volume becomes difficult as the plant grows and conditions change. You cannot easily tell whether yesterday's water remains pooled beneath the roots.
With drainage, you can apply water evenly across the soil surface until a small amount exits below. That confirms the root ball has been moistened more consistently. After the pot drains, empty the saucer or outer container. The goal is not to wash the mix constantly or leave the pot soaking; it is to complete a wetting-and-draining cycle and then wait until the plant actually needs water again.
How many holes, and how large should they be?
There is no universal number because containers vary in width, shape, and material. One central hole can work in a small pot if it remains open and the mix drains freely. Wider containers benefit from several holes distributed across the base so water does not have to travel toward a single exit. The holes should be large enough that they do not seal immediately with compacted mix, but not so large that loose material falls out whenever the pot is moved.
A small square of rigid plastic mesh, a piece of screen intended for plant pots, or a curved pottery shard placed loosely over a large opening can keep mix inside without plugging the exit. Avoid packing the hole with stones, fabric, or dense material. Roots and fine particles will naturally occupy some space over time, so the path needs to remain easy for water to cross.
When water sits on the surface for a long time before draining, the hole is not always the only suspect. Very dry peat-based mix can repel water, while old or fine mix can compact and accept water slowly. Check whether the opening is physically blocked, but also evaluate the texture of the mix, root density, and whether the soil has pulled away from the pot walls. Our potting-soil guide explains how particle size changes both water retention and airflow.
Using saucers and decorative cachepots correctly
A saucer protects the surface beneath a plant, but it is not intended to become a reservoir for an ordinary top-watered pot. Water the plant, allow it to drain, and remove the collected water after roughly fifteen to twenty minutes. If the pot is too heavy to lift safely, use a removable tray, a turkey baster dedicated to plant care, or another clean tool to remove standing water without tipping the container.
A cachepot is a decorative outer pot that hides a simpler nursery pot. It is one of the easiest ways to combine appearance with reliable drainage. Lift the nursery pot out, water it over a sink or tub, wait until dripping slows, and return it to the cachepot. Alternatively, water in place only when you can lift the inner pot afterward and empty every bit of water from the outer container.
Make sure the nursery pot does not fit so tightly that you cannot remove it or that air cannot circulate around its sides. A small riser beneath the inner pot can keep its base above any unnoticed drips. Check the cachepot after every watering; clear plastic nursery pots and opaque decorative containers can hide a surprising amount of water between them.
How pot material changes the drying rate
Unglazed terracotta is porous, so water can evaporate through its walls as well as from the soil surface. This often helps a mix dry faster and can suit plants that are sensitive to prolonged moisture, but it also means a sunlit terracotta pot may need checking more often. Plastic, glazed ceramic, and metal lose much less water through their sides, so the same mix can stay moist longer in those containers.
Material does not remove the need for a drainage hole. A terracotta pot without a hole may lose some moisture through its walls, yet still hold a saturated zone at the base. A plastic pot with excellent holes can perform well when the mix and watering rhythm are appropriate. Choose material based on the plant, the weight you can handle, the stability needed, and how quickly the room already dries pots.
Dark metal containers placed in direct sun can heat the root zone, while very light decorative pots may tip as a top-heavy plant grows. Glass reveals water levels but offers no natural drainage unless it is designed as part of a specialized system. Consider these physical qualities alongside appearance rather than assuming one material is automatically healthier.
What to do with a beautiful pot that has no hole
The lowest-risk option is to treat it as a cachepot. Choose a nursery pot that fits inside, keep the plant in that inner container, and remove it for watering. This approach is reversible, requires no tools, and protects ceramic pieces that might crack during drilling. It also makes repotting and root inspection easier.
If the material can be drilled safely and you know how to use the correct bit, adding a hole may be possible. Ceramic, glass, stone, and metal require different tools and precautions. Protect your eyes and hands, stabilize the container, avoid inhaling dust, and do not attempt to drill a valuable or fragile piece unless you are willing to accept that it could crack. A local hardware shop or potter may be able to advise on the specific material.
Specialized no-drainage systems, including some semi-hydroponic setups and closed displays, work by carefully controlling the reservoir, substrate, and plant selection. They should not be confused with placing ordinary potting soil in a sealed decorative bowl and guessing at the water volume. If you intentionally use a reservoir system, follow guidance designed for that method rather than mixing it with standard soil-watering advice.
Fixing drainage during repotting
Do not repot solely because a healthy plant is in a plastic nursery pot that looks plain. Place it inside a cachepot if appearance is the only concern. Repot when the container is damaged, the roots have genuinely outgrown the available space, the soil has degraded, or the drainage arrangement cannot be used safely. Unnecessary root disturbance can create more stress than the original container.
When a change is needed, select a pot only modestly wider than the root mass. A very large volume of fresh mix can remain wet for much longer than the plant can use. Cover large holes loosely, add a small base layer of mix—not gravel—position the plant at approximately its previous depth, and fill around the roots without compressing the mix into a solid block. Review the full repotting guide before working with a stressed plant.
After repotting, water according to the needs of the species and the moisture already present in the new mix. Confirm that water exits and that the pot is not standing in runoff. Then give the plant stable light and time to adjust. Fertilizer is not a remedy for transplant stress, and repeated watering will not force damaged roots to recover faster.
Troubleshooting slow or uneven drainage
If water exits from one edge immediately while the center remains dry, the root ball may have become hydrophobic or pulled away from the pot. Apply water slowly in several passes, or soak the draining pot briefly from below and then let it drain completely. If the condition returns quickly, the mix may be old, overly peat-heavy, or difficult to rewet evenly.
If water barely moves and the pot stays heavy for many days, check for a blocked hole, dense soil, a pot that is too large, low light, cold conditions, or unhealthy roots. Do not respond by poking many deep holes through the potting mix; a stick can tear roots and create channels without improving the underlying structure. A careful root and soil assessment is more informative.
Roots emerging through a hole do not automatically mean the plant is dangerously root-bound. A few roots often follow moisture and gravity toward the opening. Look for a cluster of signs: roots densely circling the pot, very little mix remaining, unusually rapid drying, stalled growth during the growing season, or a container that has become unstable. Drainage observations make sense only when considered with the condition of the whole plant.