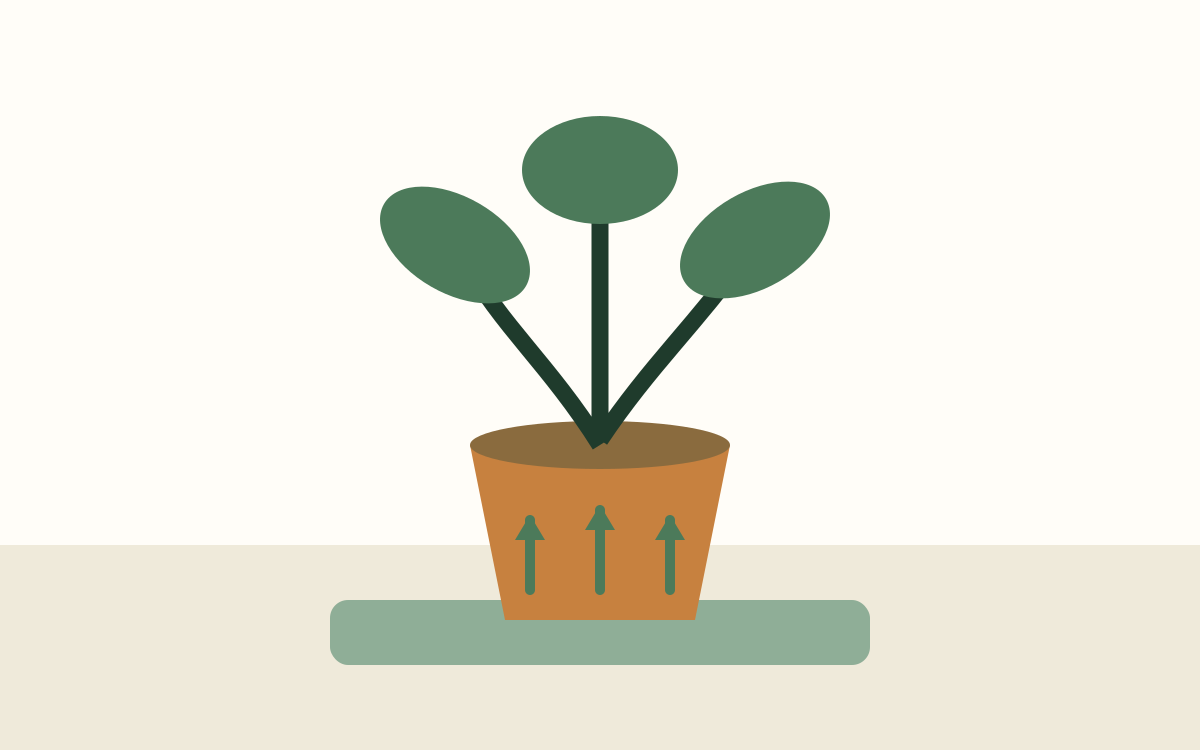
What bottom-watering actually does
Bottom-watering places a pot with drainage holes into a shallow container of water so the potting mix absorbs moisture upward through capillary action. The technique can rehydrate mix that has pulled away from the pot walls, water plants whose crowns or fuzzy leaves should stay dry, and help distribute moisture through a small or medium root ball.
It does not make overwatering impossible. If the plant is soaked before it needs water, left standing for too long, or returned to a cachepot while dripping, the roots can remain saturated. Timing still comes from soil condition, pot weight, species, light, and season.
Bottom-watering also does not eliminate the value of top-watering. Water moving through from above helps flush accumulated fertilizer salts and reveals whether the surface accepts water normally. Many plants do well with ordinary thorough top-watering and never need a soaking tray.
When bottom-watering is useful
Very dry peat-based mix can become hydrophobic, causing top-applied water to race down the gap between soil and pot without wetting the center. A temporary soak gives the mix time to rehydrate more evenly. It is also convenient for small nursery pots that tip under a watering-can stream or plants whose low leaves make the soil surface difficult to reach.
African violets and some other plants with sensitive foliage can be watered from below to reduce splashing, provided the crown is kept above the water and the pot drains afterward. Seedling trays may use controlled bottom moisture, but young plants are especially vulnerable to prolonged saturation and contamination between cells.
Use the technique because it solves a specific physical problem, not because social media describes it as superior. If the root ball wets evenly from above, drains well, and the plant is healthy, there is no need to change methods.
When it is a poor choice
Do not bottom-water a sealed pot with no holes; water cannot enter or drain predictably. Avoid soaking a plant with suspected root rot, a sour-smelling mix, a soft stem base, or a pot that is already wet. Adding more water from another direction does not correct an oxygen-starved root zone.
Large heavy pots can be unsafe to lift in and out of a basin. Use slow top-watering, a removable saucer system, or another accessible method rather than risking injury. Freshly repotted plants with loose mix may float or lose soil through large holes if placed in deep water.
Do not share one basin of water among quarantined, pest-infested, or diseased plants. Water and debris can move between containers. Treat questionable plants separately and clean the basin before reuse.
How to bottom-water step by step
- Confirm the plant needs water by checking the mix below the surface and pot weight.
- Use a clean basin, tray, sink, or outer container wider than the pot.
- Add lukewarm clean water to a shallow depth below the pot rim so it cannot flood the surface or crown.
- Set the draining pot in the water and keep it upright.
- Check periodically. Remove it when the upper mix begins to feel evenly moist or the pot has clearly gained weight.
- Lift the pot, let excess water drain completely, and empty the basin.
- Return the plant only after the saucer or cachepot can remain free of standing water.
The time varies with pot size, mix, dryness, hole area, and water depth. A rigid “twenty-minute rule” cannot describe every container. Watch absorption rather than leaving a pot unattended for hours.
Choose water depth and duration carefully
Shallow water reaching the lower portion of the pot is usually enough because the mix draws moisture upward. Submerging the entire pot can wash material, wet the crown, and remove control. Keep leaves, stems, and decorative coatings out of the basin.
A small dry pot may absorb water quickly; a larger or compacted root ball may need longer. Check every several minutes at first. When the top begins feeling cool and lightly moist, or the pot weight indicates even hydration, remove it. The surface does not have to become swampy.
If a pot absorbs almost nothing, confirm that drainage holes are open and the mix reaches them. A thick gravel layer, root mat, liner, or compacted material may block contact. Review our drainage guide rather than increasing the soaking depth indefinitely.
Use suitable water and handle pots safely
Use clean lukewarm water. Very cold water can stress tropical roots, while hot water damages tissue. If a species is known to be sensitive to minerals or treatment chemicals and local tap water produces persistent leaf-tip or salt problems, use the water source already shown to suit that plant rather than changing solely because the delivery method changed.
A saturated pot is substantially heavier than a dry one. Place the basin at a comfortable height, keep the route clear, and lift with both hands from the pot rather than the plant. Do not carry a dripping container across electrical cords or slippery floors. For a pot that exceeds safe lifting capacity, use controlled top-watering, a pump or removable saucer system designed for the setup, or ask for assistance instead of attempting a deep soak.
Clean and dry the basin after use. Do not use a food-preparation container when the plant or treatment residues make that inappropriate, and never return leftover soaking water to a drinking-water vessel.
Prevent fertilizer and mineral salt buildup
Water absorbed from below does not carry accumulated salts out through the drainage holes. Fertilizer residues and minerals from hard water can remain and concentrate as moisture evaporates. A white crust on the soil or pot, burned margins, or poor growth can have several causes, but salt buildup belongs on the checklist.
Periodically top-water a healthy plant thoroughly so clean water moves through the mix and exits below. Use an amount and frequency appropriate to the plant, water quality, and fertilizer program; do not flush a waterlogged or rotting pot. Empty all runoff afterward.
Follow fertilizer labels and do not add fertilizer to every soaking tray by default. Our fertilizing guide explains concentration, seasonal growth, and why more nutrients do not create more light or healthy roots.
Keep the decision separate from the delivery method
Bottom-watering answers “how will I deliver water?” It does not answer “does the plant need water now?” Use the same soil, weight, light, season, and species checks described in our complete watering guide.
A plant in lower light may need much longer between soaks. A terracotta pot may dry faster than plastic. A root-bound pot may appear to need frequent water but actually require repotting. Do not turn bottom-watering into a weekly ritual independent of current conditions.
Record the date, method, and pot response. If the plant repeatedly wilts before the mix can be rewetted evenly, investigate root density, soil structure, pot size, heat, and light instead of simply extending every soak.
Bottom-watering versus self-watering pots
A temporary bottom soak and a self-watering planter are not the same. Self-watering systems maintain a reservoir and use a wick or contact column to supply moisture over time. They require a suitable substrate, clean reservoir, correct water level, and a plant that tolerates more consistent moisture.
Do not leave an ordinary nursery pot permanently standing in a deep saucer and call it self-watering. Continuous submersion can deprive roots of air and create stagnant water. Use a designed system according to its instructions.
When converting a plant to a reservoir system, research that method specifically and allow for root adjustment. A standard soil-care guide cannot substitute for the design requirements of semi-hydroponic or wick-based growing.
Troubleshooting common problems
If only the bottom becomes wet, the soak may be too brief, the mix may be compacted, or the pot may be too tall for moisture to travel evenly. Extend cautiously while monitoring, then assess whether the mix needs replacement. If the surface becomes saturated immediately, water may be too deep or entering through very large side openings.
If soil floats out, reduce water depth and cover large holes loosely with plant-pot mesh during the next repotting. If the plant droops after a soak, check whether it was already too wet, whether roots are damaged, or whether unrelated heat and light stress are involved.
If fungus gnats persist, remember that repeatedly moist surface mix supports larvae. Let the upper layer dry within the species' tolerance and follow our fungus-gnat guide. Bottom-watering may keep the surface drier in some pots, but it is not a standalone pest treatment.