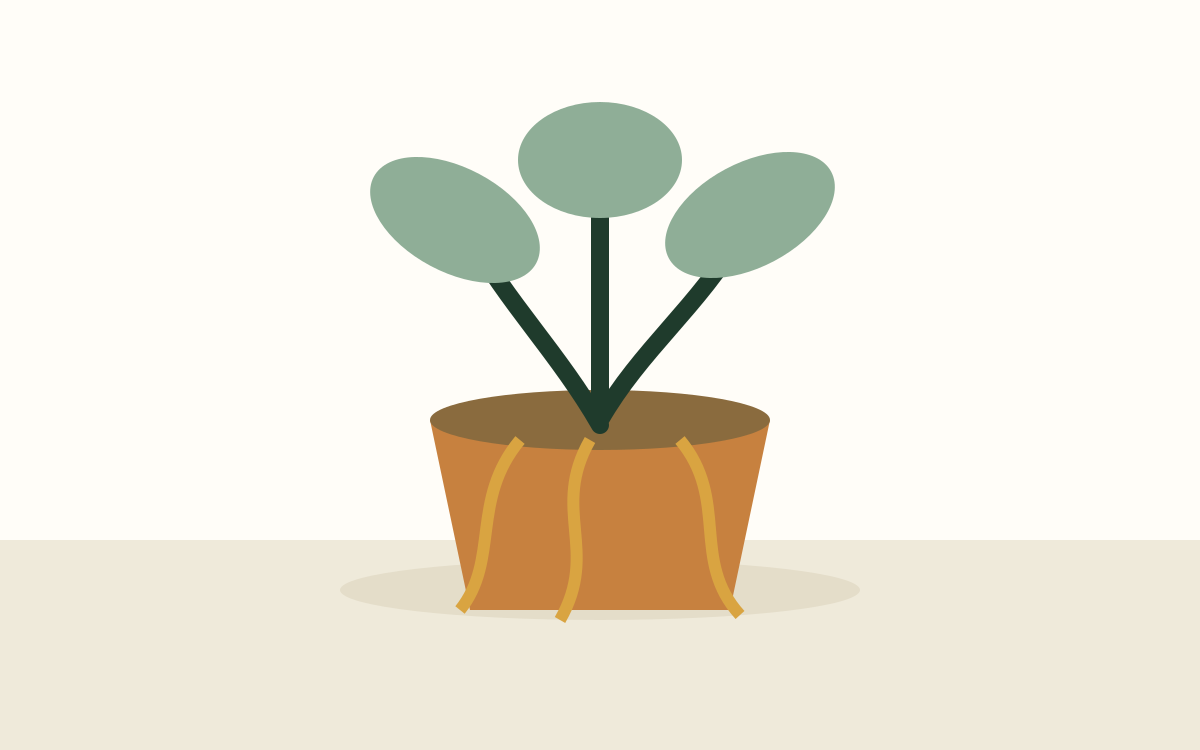
What root rot is—and what it is not
“Root rot” describes root tissue that has died and begun to break down, commonly in conditions where the root zone remains poorly aerated for too long. Several organisms may be involved, but the practical household pattern often begins with a mismatch: water is added more frequently than the plant can use it, the mix stays dense and wet, drainage is blocked, light is too low for the existing routine, or the pot is oversized. Damaged roots then become less able to absorb water and support the plant.
It is not the same as giving a plant a generous drink once. In a suitable pot and mix, thorough watering followed by drainage can be healthy. The problem is prolonged saturation or repeated watering before the root zone has reached an appropriate level of dryness. Conversely, severe drought can kill fine roots too, and those damaged roots may decline after the pot is suddenly saturated. The recent care history matters.
Root rot is also not a diagnosis that can be made from a single drooping or yellow leaf. Those symptoms overlap with drought, temperature shock, pests, natural aging, and other problems. Treating every yellow leaf by removing the plant from its pot can damage healthy roots. Inspection should follow evidence, not anxiety.
Warning signs that justify a closer look
No single above-soil symptom proves root rot, but a cluster of signs increases the likelihood. Watch for mix that remains wet and heavy much longer than expected, repeated yellowing or leaf drop while the soil is moist, stalled growth during an otherwise active period, a soft stem base, and a sour or swamp-like smell from the pot. Fungus gnats can accompany persistently damp soil, though their presence alone does not prove rotted roots.
Compare symptoms with the plant's environment. A pot moved into lower light will dry more slowly. A decorative container may hide standing water beneath the nursery pot. A large volume of dense mix around a small root system can remain wet at the center even when the top looks dry. Check these conditions before assuming a pathogen appeared without a cultural cause.
Urgent inspection is appropriate when the stem is collapsing, tissue at the soil line is soft or blackened, the smell is strong, or the plant is declining rapidly despite wet soil. For a stable plant with one aging leaf and normally drying mix, observation is usually safer than immediate unpotting.
How to inspect roots without causing unnecessary damage
Prepare a clean work surface, clean scissors or pruners, fresh appropriate potting mix, and a clean draining container before removing the plant. Support the stem base and root ball rather than pulling on leaves. Tip the pot and ease the root mass out; squeeze a flexible nursery pot or run a blunt tool carefully around the inside edge if it is stuck.
Observe before tearing the root ball apart. Healthy roots are generally firm and may be white, cream, tan, or naturally darker depending on species, age, and substrate. A dark color alone is not rot. Damaged roots are more convincingly identified by texture and integrity: they may feel soft, slimy, hollow, or easily lose their outer layer when touched. A foul smell and tissue that disintegrates with gentle handling strengthen the diagnosis.
Loosen only enough mix to see the condition and remove material that falls away readily. Aggressive washing can strip fine healthy roots and add stress, especially when damage is limited. If the entire root system is firm and the smell is normal, return the plant to an appropriate container and reconsider other explanations such as light, drought, pests, or temperature.
A step-by-step recovery process
- Remove clearly dead roots. Use clean, sharp tools to cut back to firm tissue. Clean the blades between plants and again when the work is finished.
- Discard the degraded mix. Do not reuse wet, sour, or badly compacted soil around the recovering roots.
- Choose a correctly sized pot. The remaining root mass may fit a smaller container than before. Extra unused mix increases the time the pot stays wet.
- Use a fresh, suitable mix. Match particle size and moisture retention to the plant rather than making every mix extremely dry.
- Position at the previous depth. Burying the stem more deeply can expose vulnerable tissue to moisture.
- Water deliberately. If the fresh mix is already evenly moist, an immediate drenching may be unnecessary. If it is dry and the species needs settling water, water once and let the pot drain fully.
- Stabilize the environment. Provide suitable indirect light, normal warmth, and airflow without harsh sun or drafts while roots recover.
The goal is to remove tissue that cannot recover and restore a root environment with both moisture and oxygen. Fertilizer does not rebuild injured roots and can add salt stress, so pause feeding until the plant is stable and producing healthy growth.
Aftercare during the first several weeks
A recovering plant has fewer functioning roots and may use water differently than it did before. Do not return automatically to the old schedule. Check the mix and pot weight, then water according to the needs of the remaining root system and species. Avoid keeping the mix permanently wet “to reduce stress”; the lack of aeration was likely part of the original problem.
Keep light adequate but avoid suddenly exposing a sheltered plant to intense direct sun. Good light supports energy production and normal water use, while excessive heat can dehydrate a plant whose roots are still limited. Stable conditions are more useful than moving the plant repeatedly. Maintain ordinary household airflow, but do not place it directly in front of a heater or air conditioner.
Expect damaged leaves to remain damaged. Improvement means the stem stays firm, decline stops spreading, the pot begins to dry at a reasonable rate, and eventually new growth appears. This may take several weeks. Pulling the plant out repeatedly to check roots interrupts recovery and can introduce fresh injury.
When propagation is safer than saving the original roots
If nearly all roots and the lower stem are soft, there may be too little healthy tissue for ordinary repotting to succeed. Many vining plants can be saved by taking clean cuttings above the damaged area. A viable cutting needs the correct growth structure—often at least one healthy node—not merely a detached leaf. Remove all visibly compromised stem tissue and use a method appropriate for the species.
Propagation is not guaranteed, and it is not available for every type of plant in the same way. Palms and some single-crown plants cannot be rescued from an ordinary leaf cutting. Plants that form divisions, offsets, canes, or healthy upper stems require different techniques. Consult our beginner propagation guide and a species-specific source before cutting.
Keep the original plant isolated while you assess whether any base tissue remains healthy. Use clean tools and separate containers for salvage cuttings. Do not place a questionable cutting into a jar with several healthy cuttings, where decaying tissue and difficult monitoring can affect the whole group.
Common recovery mistakes
Moving to a larger pot: A plant that lost roots generally needs less surrounding soil, not more. Size the container to the remaining root mass. Adding a gravel layer: Gravel does not replace drainage and reduces usable soil depth. Using a richer fertilizer: Nutrients cannot compensate for dead roots and may increase stress.
Removing every stained root: Natural root colors vary. Cut based on soft, collapsing texture and loss of integrity rather than color alone. Applying multiple home remedies: Cinnamon, peroxide, alcohol, and other popular treatments are often recommended without regard to concentration, species, or the actual cause. Mechanical removal, fresh mix, clean tools, correct drainage, and improved care conditions are the core steps.
Watering from fear: A wilted plant with damaged roots may look thirsty because it cannot absorb water, not because the pot lacks water. Adding more to already wet mix makes the root environment worse. Check the soil and roots before responding to wilt.
Preventing the same problem from returning
Use a container with unobstructed holes and empty runoff from saucers or decorative pots. Match the potting mix to the plant, and select a pot only modestly larger than the root system. A well-aerated mix does not need to be bone-dry or composed of oversized chunks; it needs a structure that balances water retention with air for that species and environment.
Check moisture below the surface before watering and use the old schedule only as a reminder to inspect. As light declines in winter or after a move, expect drying to slow. If a plant receives brighter light and warmer temperatures, it may dry faster. Our watering guide explains how to use soil feel and pot weight, while the drainage guide covers cachepots and standing water.
Quarantine new plants long enough to observe pests and watering behavior, and avoid sharing used mix between containers. Clean tools between plants. Most importantly, respond to trends rather than one imperfect leaf. Early recognition of a pot that stays wet unusually long is more useful than waiting for severe stem collapse.
When the problem may be something else
A plant can wilt in dry soil, drop leaves after a move, yellow from low light, scorch near hot glass, or decline from pests without having root rot. If roots are firm and the pot smells normal, broaden the assessment. Review the pattern in our yellow-leaf diagnostic guide, inspect leaf undersides, and consider recent environmental changes.
Some stem and crown diseases can progress even when much of the root system appears acceptable. Rapidly expanding soft lesions, discolored vascular tissue, or repeated collapse after clean repotting may require diagnosis beyond ordinary home care. Isolate the plant and consult a reputable local nursery, extension service, or plant-health professional—especially for a valuable specimen or a problem spreading through a collection.
Discarding a severely diseased plant can be the responsible choice when no healthy propagation material remains and nearby plants are at risk. Clean the area, sanitize reusable nonporous containers appropriately, discard compromised mix, and monitor neighboring plants rather than immediately filling the same pot with a replacement.